Settings
eCommerce also has a few overall settings to control the shopping experience. The settings page is also where you can find interfaces to edit the various attributes.

Clicking on any of the links will let you configure that set of options.
eCommerce also offers some basic inventory management:
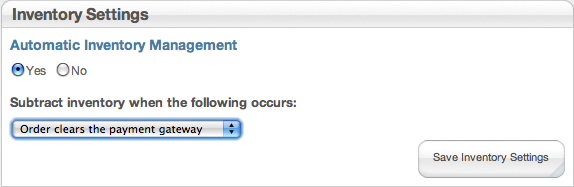
Inventory management will take the purchased amount of a product out of your inventory. You get to control when this happens, after payment has been recieved, or when you change the status to "completed" or "shipped."
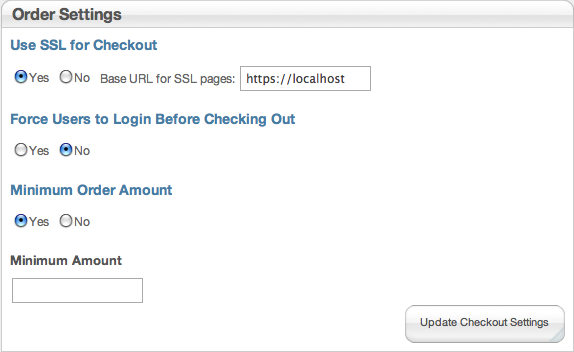
Order settings control the conditions of checkout. Enabling SSL lets you use encrypted connection for the checkout process. This is a good idea when you are using a payment option that sends the information your website to the gateway and does not complete the actual checkout process directly on the payment gateway's own website (which should have SSL). You will need to buy and setup SSL with your hosting provider. Typically your Base URL for SSL pages to be your domain name.
Depending on your products, you may want your customers to have to register before checking out. Also, if you want your customers to have an order history they can access, they need to be logged in at the time of purchase.
If you sell a lot of low cost items, or just want to be sure people spend at least a certain amount of money in your store, you can set a minimum order amount. This will prevent customers from checking out without spending enough money. It is like a global version of the "minimum quantity to purchase" option for a product.
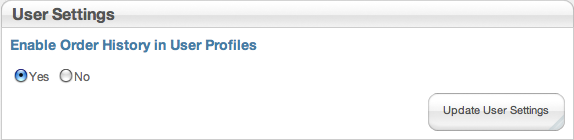
If you want users to be able to check on their orders, they need a history. Also keep in mind that if they are not logged in, that history does not get recorded.
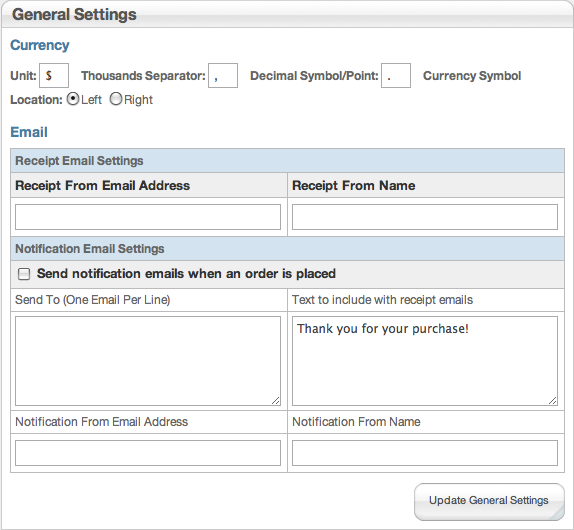
The general settings area lets you pick some options for what your customers see. In the currency section you can pick the currency symbol that is displayed throughout your site and what side of the number it should be on as well as how you want thousands and decimals represented. Note that this is only represented when numbers are output, and you need to use a period as the decimal symbol when entering prices.
The email settings let you choose who your emails come from. The "Receipt From" address and name is what you customer will see in their inbox after they buy from you. The "text to include" area is where you can put in your "thank you" message. The "Send notification" email will send everyone in your "Send To" list an email that a customer has made a purchase. The "Notification From" information is for who the notification emails are from.