Installation Help
Installing add-ons to concrete5 is easy.
Looking for legacy concrete5 documentation? The Editors Guide for 5.6 and earlier can be found hereConnect to the Community
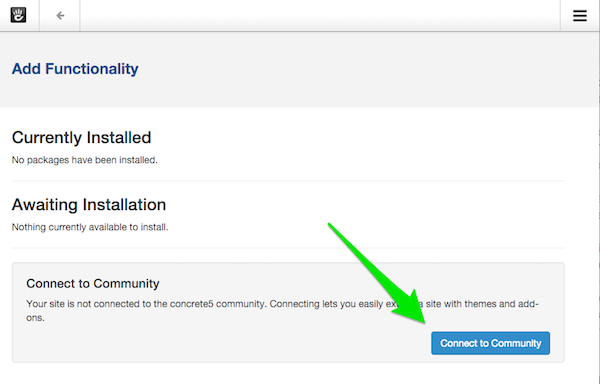
If your webserver is properly configured, you can automatically install add-ons directly from your dashboard. First connect to the community.
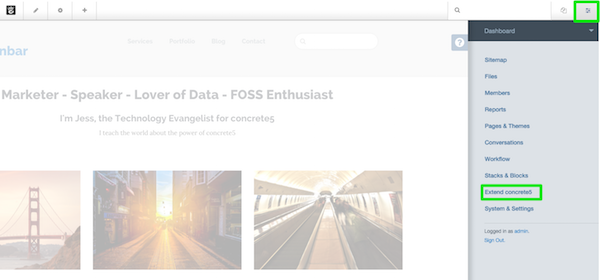
- Click Dashboard in the upper right of your concrete5 toolbar
- at the bottom of the Dashboard, click the Extend concrete5
Click the blue button labeled connect to the community and sign in or register. Use your community account that is created on concrete5.org to login. If you do not have an account you can easily register.
Tip: The user account and password you use to login to your own website is different from your community account.
Congratulations, your website is now connected to the Community.
Now when you shop at concrete5.org, you'll be able to assign licenses to your Project Page and the add-ons or themes will automatically install the next time you login to your concrete5 website.
On the project page you've made you should now have the ability to assign licenses to your project. Pick whichever add-ons & themes are for this site.

Get more addons
Extending your concrete5 site is easy. Concrete5 comes with a lot of built-in features by default. With add-ons - you can add new functionality with just a few clicks. You can search and install addons to your website directly from the dashboard. Without needed to download anything!
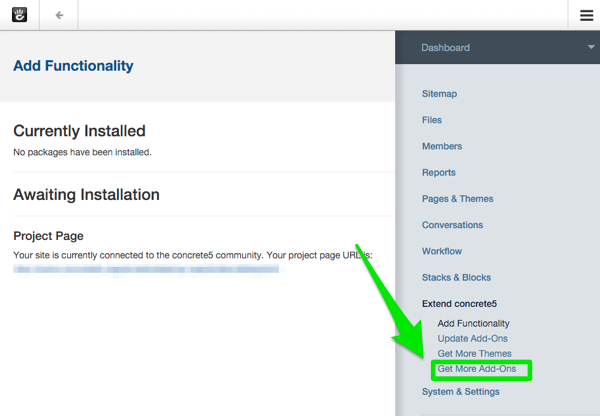
Access Add-ons
Make sure you are logged into your website and connected to the community. Once you do that access add-ons by going to Dashboard > Extend concrete5 > Get More Add-Ons
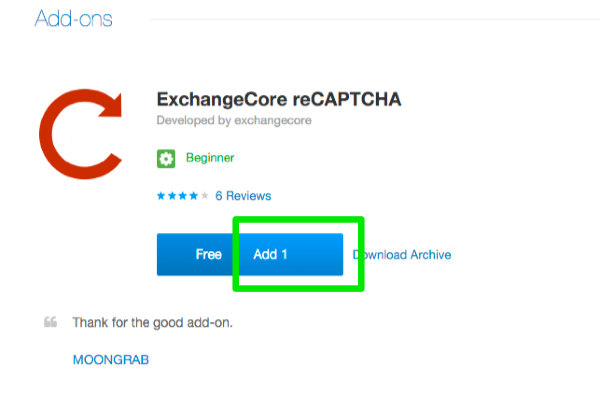
You can search add-ons from inside your dashboard. Choose an add-on and click anywhere on the image.
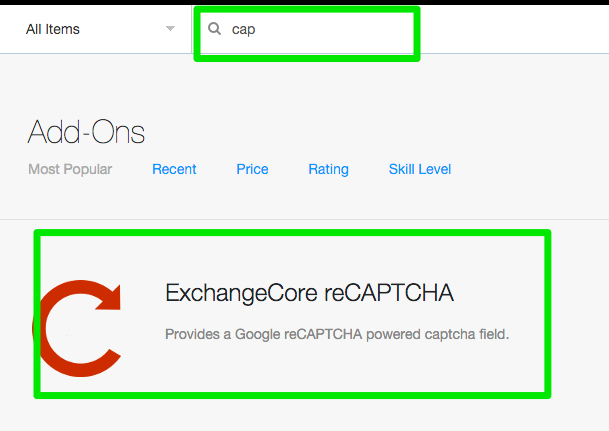
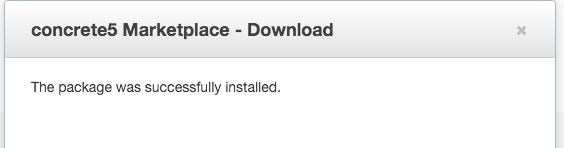
click "add 1" and then you should see the message “The package was successfully installed.” That's it you're done!
Moving a Site
If you develop your site in one place, and you're going to move it to another to launch - have no fear! Feel free to connect your site to the community as soon as you want. When you're ready, simply move the site following any of the handy how-tos in our documentation area. As long as you're moving the database (as supposed to creating a new blank one) all you have to do is go to your site's dashboard and try to connect to the community again. Concrete5.org will detect that this is the same site database trying to connect, and we will simply add a record to the existing project page's "found locations" area for the new URL this site is at. You will have to have access to that original project page with a concrete5.org user.
See also: Moving a Site
By Hand (Installing Manually)
If your webserver doesn't have CURL installed, you may not be able to do this automatic install. In that case download the file you get here to your local computer. UnZIP the file and upload the whole directory it makes to the /packages folder in your concrete5 setup on your webserver. Once you've done that, it should show up in the New window above.
Refreshing an Add-on
If you've got something misbehaving on your add-on, you may need to try re-installing it. Here's how to do that by hand:
- Release the add-on license from your project by visiting your site's project page.
- Visit your licenses page to see a list of all the licenses owned by your account. If an unassigned copy of a license is available, a "Download Archive" link will appear to the right side of the addon's row. Click this link to download a zip archive of the add-on's files.
- When your download is complete, upload the zip archive to (your_site_root)/packages on your webserver. You can do this through an FTP client, or a web-based utility like cPanel.
- Locate the old package folder. This may look something like (your_site_root)/packages/document_library
- Move the document_library folder to a safe location.
- Using cPanel, FTP, etc, unzip the zip archive file into the packages/ folder. This puts a "fresh" copy of your add-on's code in place for concrete5 to use.
- Go to Dashboard > Extend concrete5, and find the add-on on the list of installed add-ons and themes. If you see a message telling you that an update for your add-on is available, click the Update Add-ons button.
- Return to your licenses page and re-assign the license to your site.
- For more detailed instructions, see: Download and Manually Install an Add-on
Adding Licenses From Different Users
Do you have more than one account here on concrete5.org that you're buying licenses with?
Do you have a team of developers who are working on one project?
Use the management team section of your project page to let different concrete5.org individuals all contribute to your site.
- Login as the owner of your Project page
- Goto the Project page, and look for the Management Team section about half way down.
- Add the other accounts in question to that list.
- Login with your other account to concrete5.org
- Now your second account should be able to see the project page and assign licenses which will be automatically available for install on your site through Add Functionality.
- See also: Add Licenses from Multiple User Accounts to a Single Project