Documentation
This package provides a special content block called Flexible Content.
After the successful installation process you can add Flexible Content block to any block area of your website (where it is available). This block really implements the WYSIWYG editor interface with its inline editor UI.
The default inline editor of the package is CKEditor, but a power user (with at least basic javascript and PHP skills) can easily integrate additional editors into Flexible Content.
How to use Flexible Content
(Simple content management example)
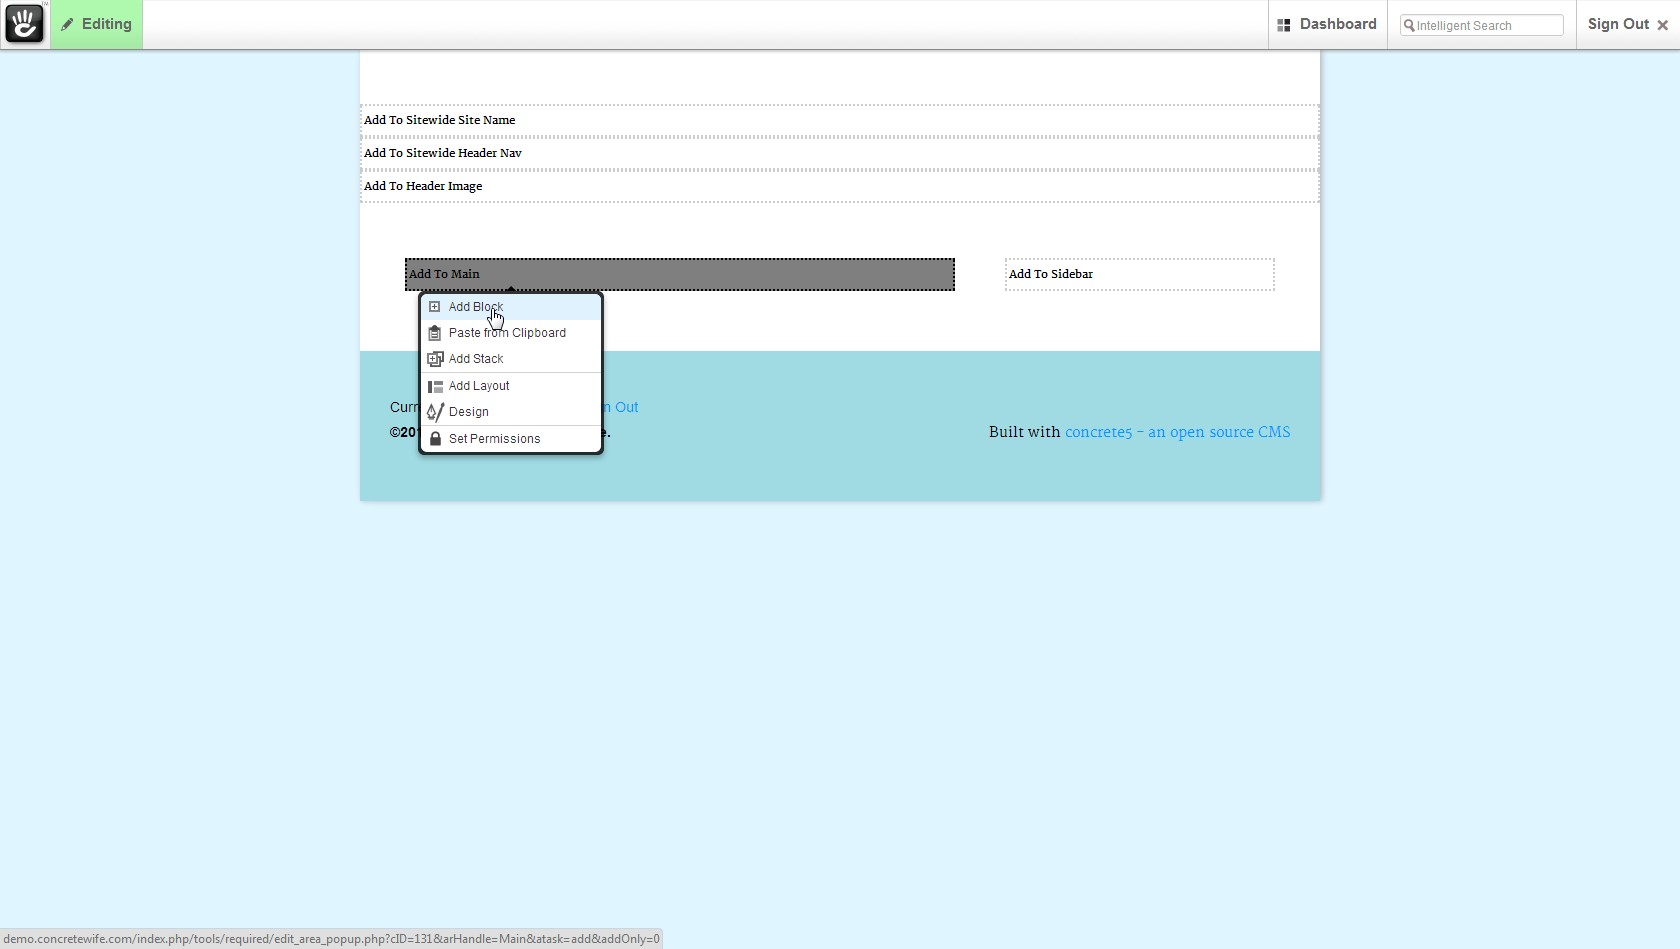
Step 1.
Go to "editing" mode, click on any block area you want and select "add block" from the appearing dropdown menu.
Step 2.
Scroll down (if needed) and choose "Flexible Content" in the "Add Block" popup.

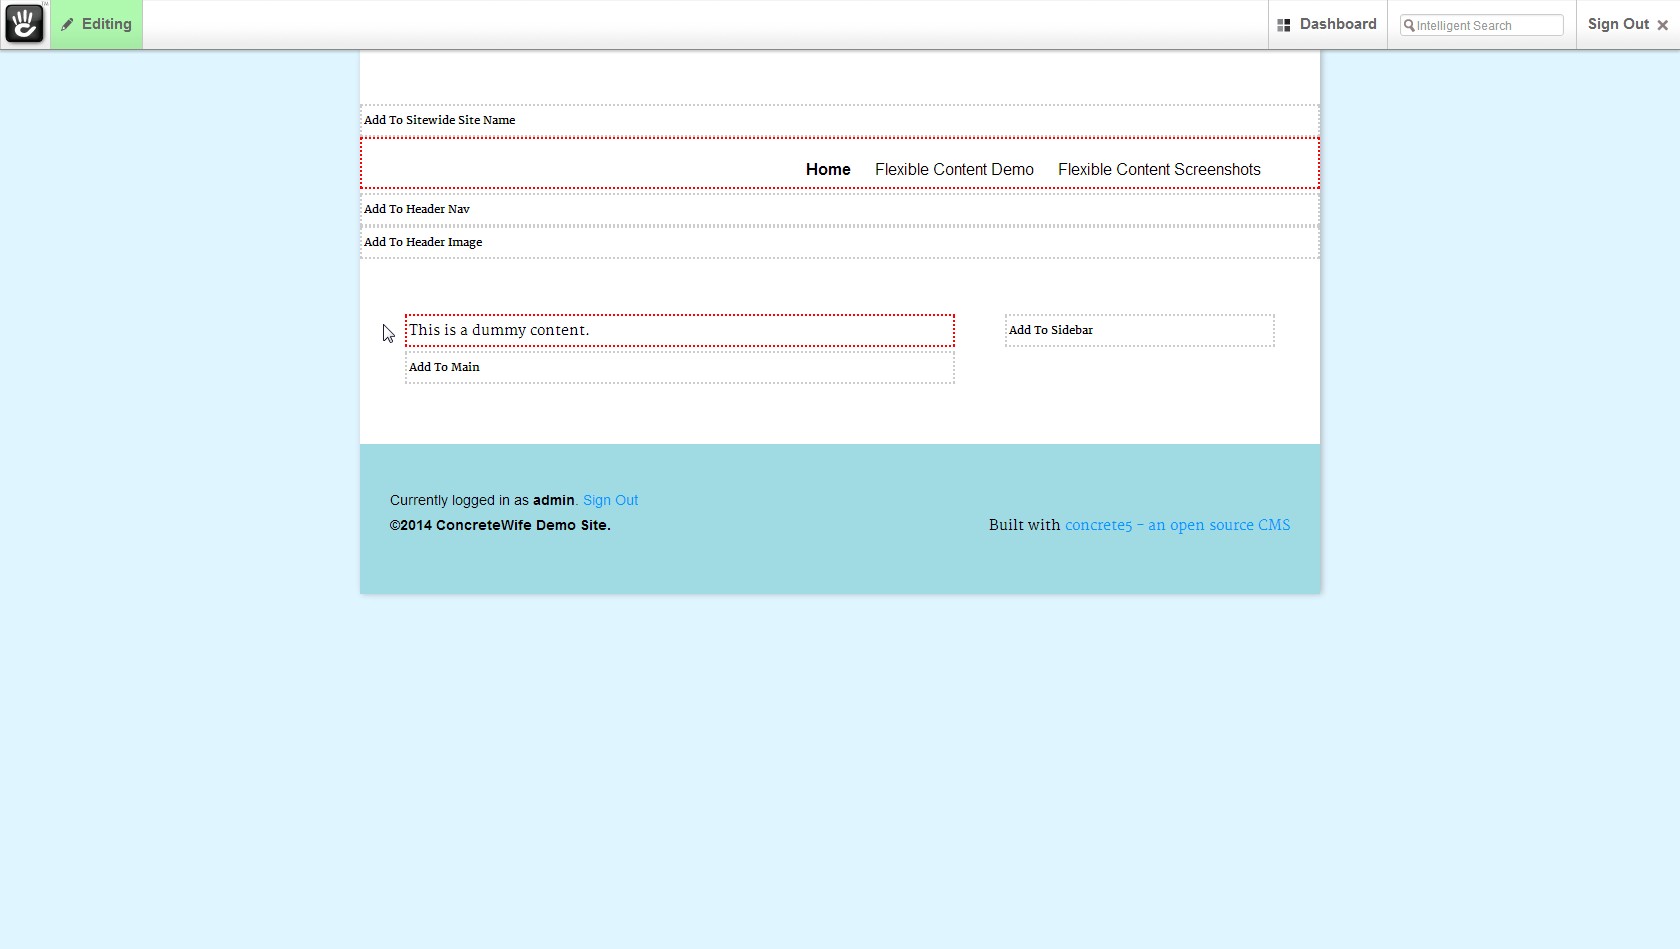
Step 3.
Flexible Content block is now added to the proper block area with a dummy text ("This is a dummy content"). To change the content just click on it!
Step 4.
Select "Edit" from the dropdown menu.

Step 5.
The cursor is focused on the content of the block directly and a message window (top left) informs you about the active inline editing mode. Just type anything you want. While you're in content editing mode, the Concrete5 toolbar, every other blocks and block areas are inactive (indicated with grey overlay).

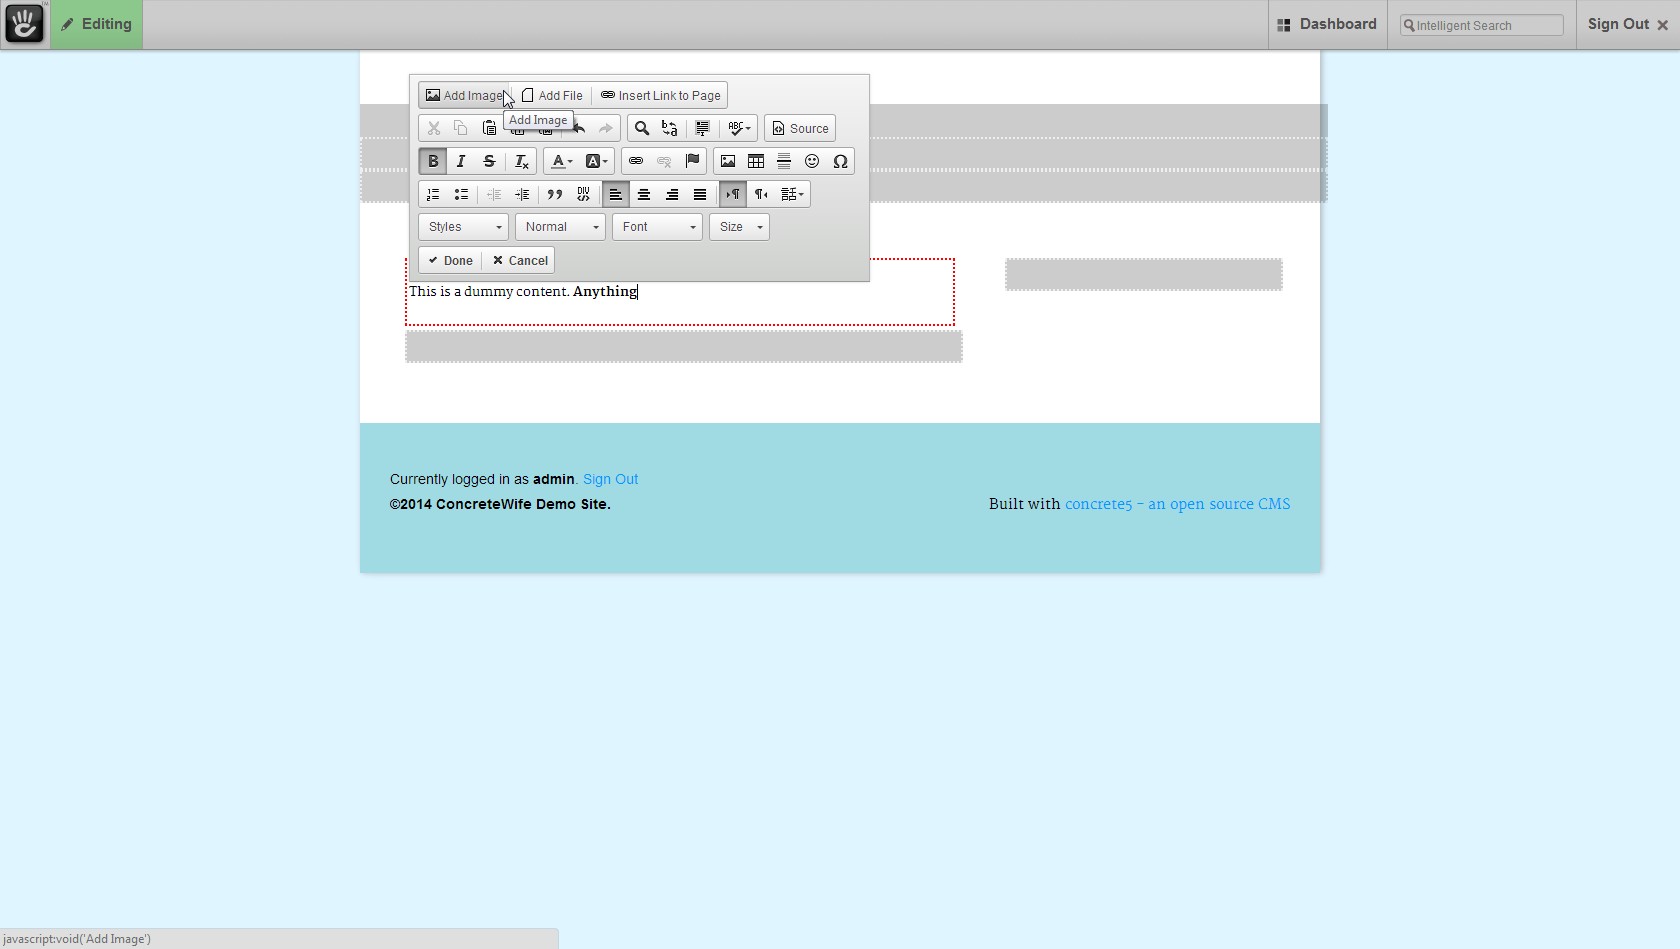
Step 6.
Any time you select your edited content (with keyboard or mouse) a popup appears with the editor options. This is the main feature of an "inline editor" like CKEditor (the default inline editor of Flexible Content).

Step 7.
Modify your content with the editor options any way you want.

Step 8.
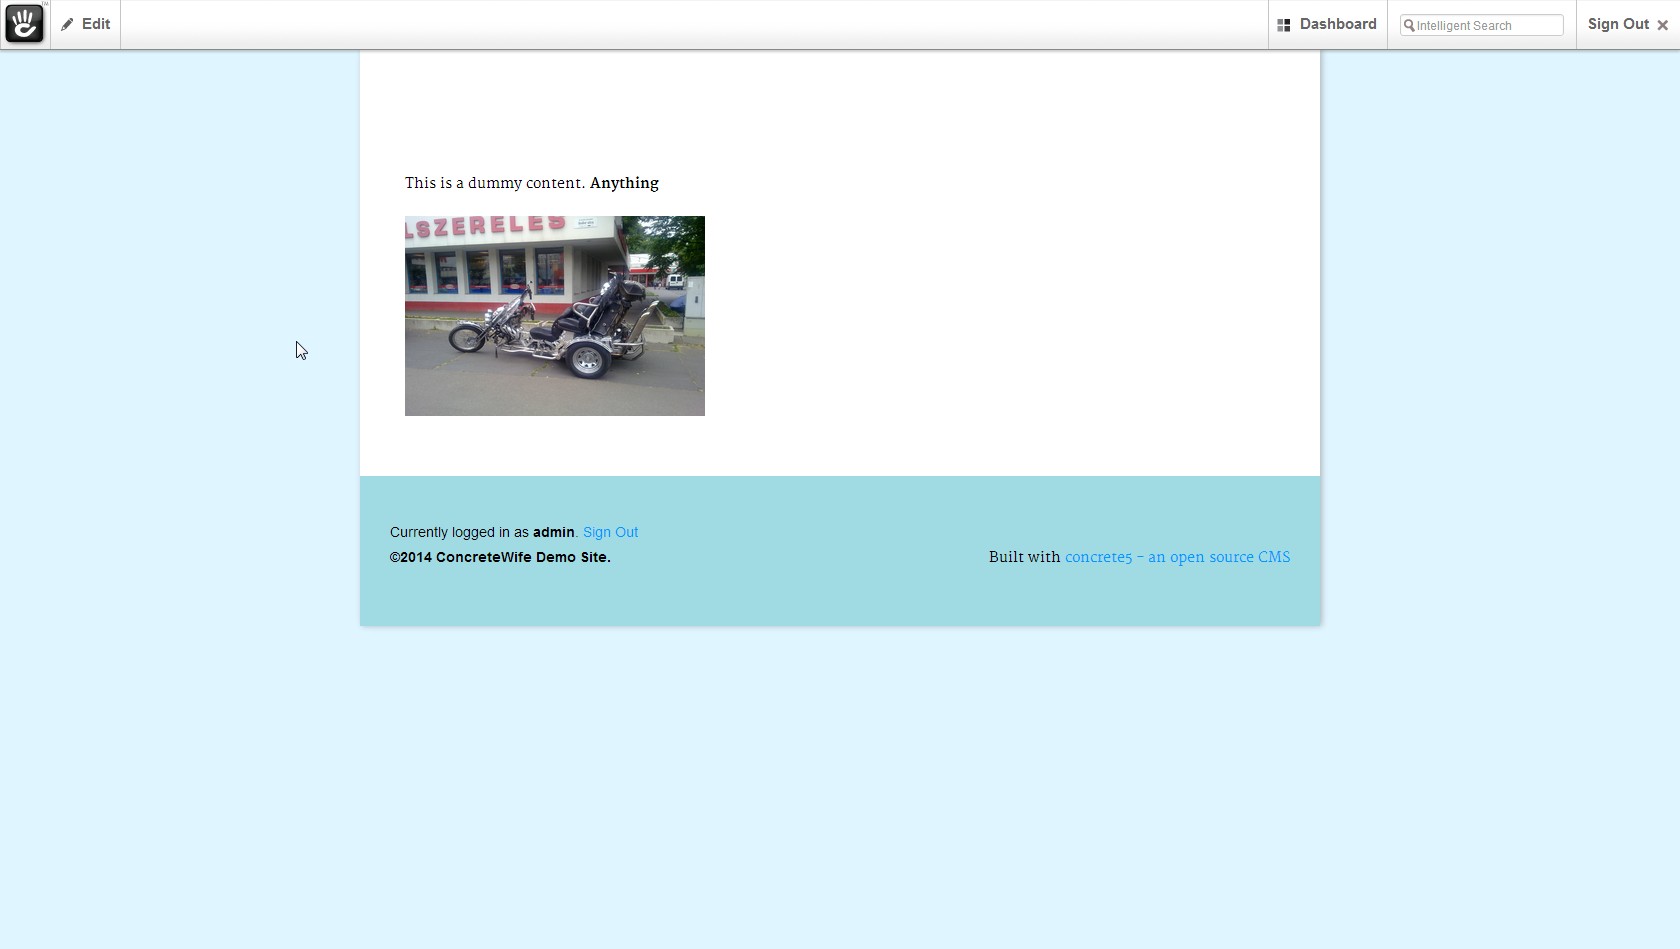
The result appears immediately and looks like after publishing. "What you see is what you get"

Step 9.
Are you searching for certain functions from the good old Content block? Image manager for example?
No problem. You can find it at the same place (top left, "Add Image" button).
Step 10.
Just do it on the old way you're familiar with.

Step 11.
Don't forget to click on the "Done" (or Cancel) button before you finish editing process. After clicking on one of these buttons, Concrete5 toolbar becomes active again.

Step 12.
Now you can save/publish your page.

Finally