Setting up your default language
The Internationalization add-on makes it easy to create and manage separate page tree structures for each language. Each language-- even the language your site is currently written in-- will gets its own parent page, under concrete5's default "Home" page.
Let's assume we're starting off with a site written in English. First, we'll create a page directly under home called English.
Tip:A good idea might be to assign a page alias that conforms with web standards, like "en". That way, when people visit our site and view the English language content, the url will look like http://www.your-website.com/en.
If you have been building out a site in your native language, you will move all of your existing content under your native language. So in this example, our English speaker will move every page on his site under the English section of the site.
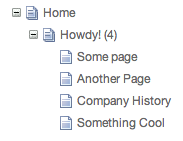
Here is an example of a sitemap that is ready for translation:
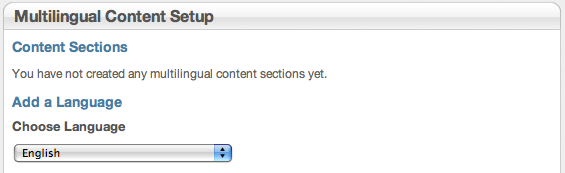
Now to begin the translation process by selecting the default language from the Multilingual dashboard page:
After you pick a language, you get to pick a flag: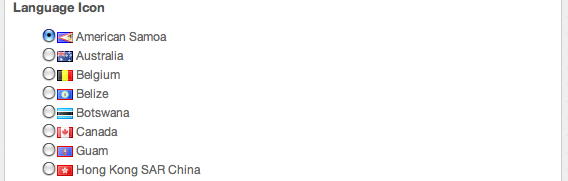
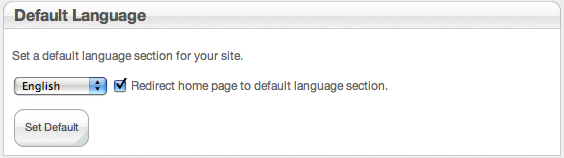
Once you have selected a flag for this section of your site, you can assign it to be the default language for your site. If desired, the 'Home' page of your language can be directed to the default language automatically. If you want a more "international" entry to your site, don't choose to redirect and the default "Home" page will be used.
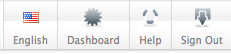
Also, once you have set your flag, when you are editing pages for that language your edit bar will indicate which language section you are actually editing or viewing, if you are logged in:
The next section of this documentation will explain the actual translation process.